


Description:
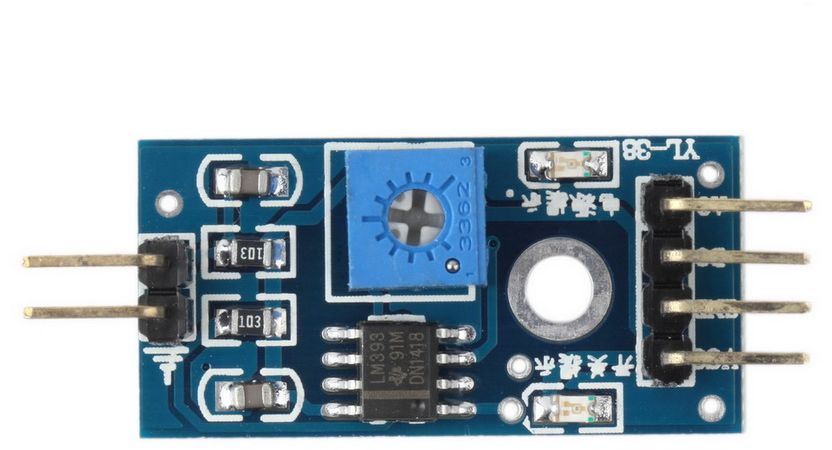
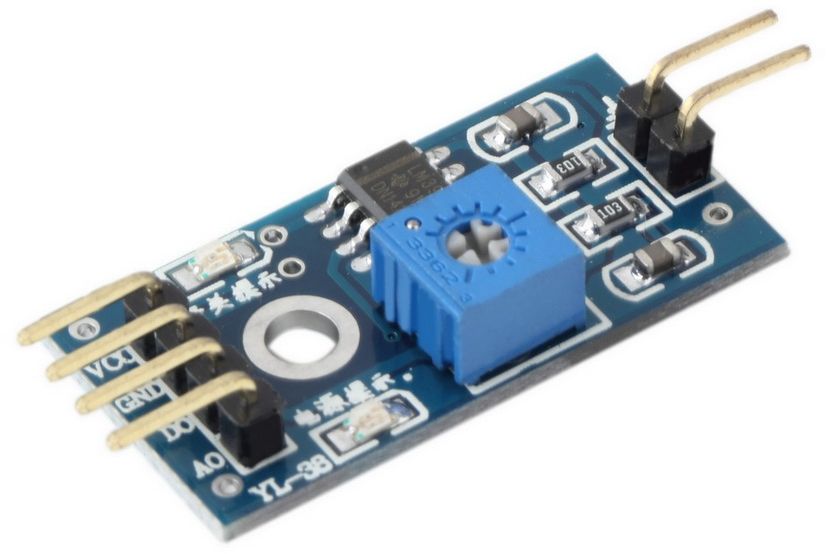
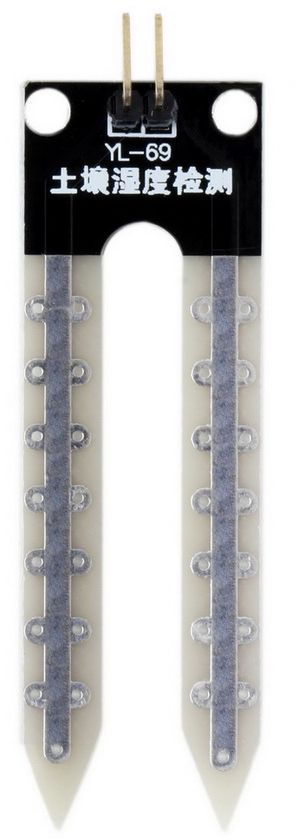
The Soil Moisture Sensor & Soil Hygrometer Detection Module is a highly sensitive and accurate device that can detect soil humidity. Its adjustable sensitivity feature, indicated by the blue digital potentiometer adjustment, enables it to be customized for different soil types and environmental conditions. The module has a dual output mode, including an analog output that provides more accurate readings than other output modes. This feature helps users to have a clear and precise understanding of the moisture level of the soil. The sensor has a fixed bolt hole, which makes it easy to install, and it is equipped with a power indicator (red) and a digital switching output indicator (green). The LM393 comparator chip in the module ensures stability, while the surface plating treatment enhances electrical conductivity and corrosion resistance, making the device durable. The Soil Moisture Sensor & Soil Hygrometer Detection Module can be used to create an automated watering system that helps save plants from withering due to a lack of water, especially during extended absences or missed watering time. Using these sensors not only helps to save plants but also makes gardens smarter by providing real-time soil moisture data.
Features:
- An extremely sensitive sensor that can detect soil humidity
- Adjustable sensitivity through blue digital potentiometer adjustment
- Dual output mode, including analog output for more accurate readings
- Fixed bolt hole for easy installation
- Includes power indicator (red) and digital switching output indicator (green)
- Equipped with an LM393 comparator chip for stability
- Enables the creation of an automated watering mechanism to save plants from withering due to lack of water during the absence or missed watering time
- Helps plants grow more comfortably and make the garden smarter
- The surface has undergone plating treatment to improve electrical conductivity and corrosion resistance
- Simple to set up and use
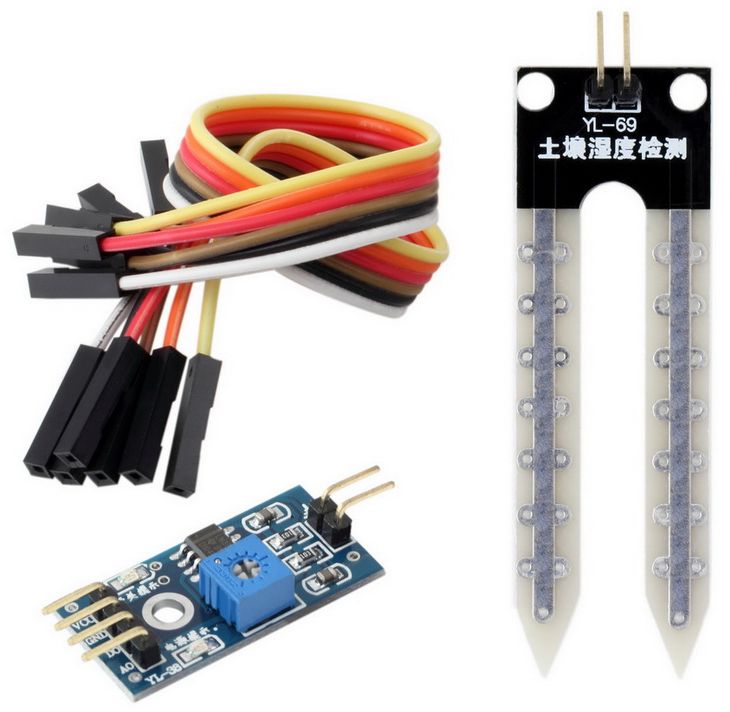
Package Includes:
- 1 x Soil Moisture Sensor & Soil Hygrometer Detection Module
- 1 x Amplifier Module
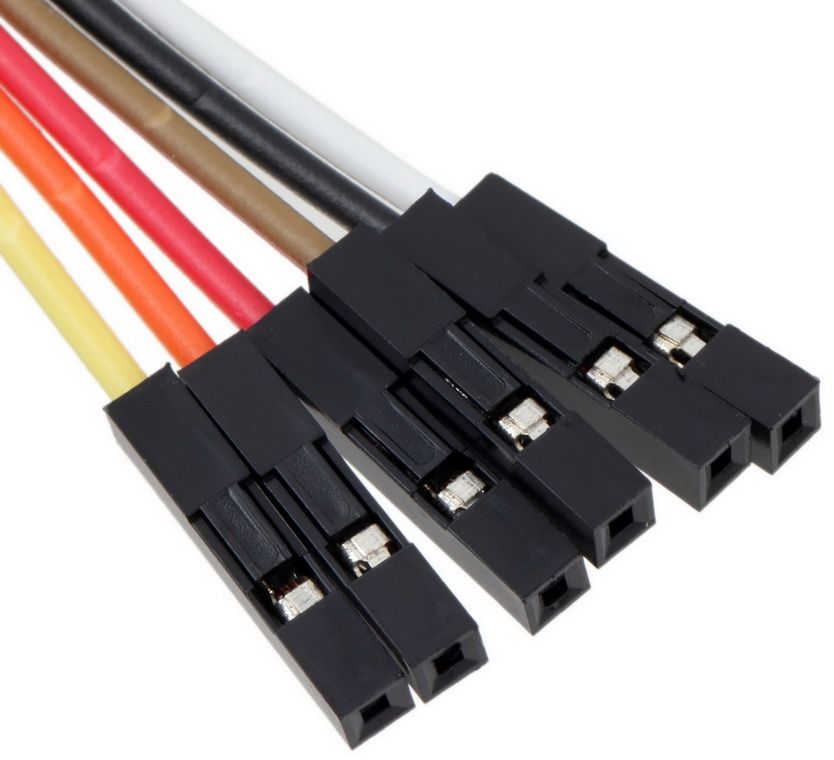
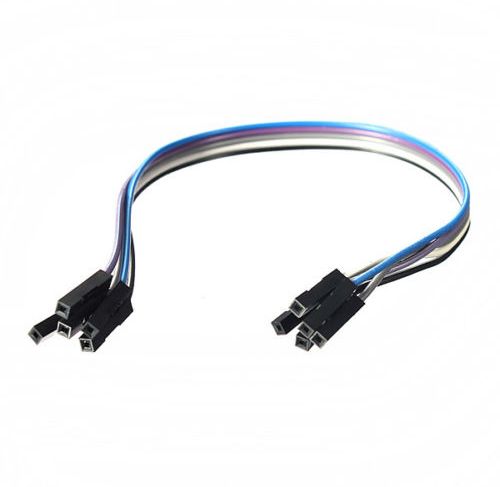
- 2 x Dupont Wires Female to Female.
Soil Moisture Sensor Pinout
The soil moisture sensor is extremely simple to use and only requires four pins to connect.

AO (Analog Output) generates analog output voltage proportional to the soil moisture level, so a higher level results in a higher voltage and a lower level results in a lower voltage.
DO (Digital Output) indicates whether the soil moisture level is within the limit. D0 becomes LOW when the moisture level exceeds the threshold value (as set by the potentiometer), and HIGH otherwise.
VCC supplies power to the sensor. It is recommended that the sensor be powered from 3.3V to 5V. Please keep in mind that the analog output will vary depending on the voltage supplied to the sensor.
GND is the ground pin.
Measuring Soil Moisture using Analog Output (A0)
In our first experiment, we will read the analog output to estimate the level of soil moisture.
Wiring
Let’s hook up the soil moisture sensor to the Arduino.
Let’s begin by powering up the sensor. For this, you can connect the VCC pin of the module to Arduino’s 5V pin.
However, one well-known issue with these sensors is that they have a shorter lifespan because they are constantly exposed to moisture. Moreover, constantly applying power to the sensor while buried in soil significantly accelerates the rate of corrosion.
To avoid this, it is recommended that the sensor be turned on only when taking readings.
One easy way to do this is to connect the sensor’s power pin to a digital pin on an Arduino and set it to HIGH or LOW as needed. Also, the total power drawn by the module (with both LEDs lit) is about 8 mA, so powering the module from a digital pin is fine. So, we’ll connect the VCC pin to the Arduino’s digital pin #7.
Finally, connect the A0 pin to the Arduino’s A0 ADC pin.
The wiring is shown in the image below.

Finding the threshold values
To estimate the soil moisture level, record the values of your sensor output when the soil is as dry as possible and when it is completely saturated.
Simply run the sketch below and take your readings.
// Sensor pins
#define sensorPower 7
#define sensorPin A0

void setup() {
	pinMode(sensorPower, OUTPUT);

	// Initially keep the sensor OFF
	digitalWrite(sensorPower, LOW);

	Serial.begin(9600);
}

void loop() {
	//get the reading from the function below and print it
	Serial.print("Analog output: ");
	Serial.println(readSensor());

	delay(1000);
}

//  This function returns the analog soil moisture measurement
int readSensor() {
	digitalWrite(sensorPower, HIGH);	// Turn the sensor ON
	delay(10);							// Allow power to settle
	int val = analogRead(sensorPin);	// Read the analog value form sensor
	digitalWrite(sensorPower, LOW);		// Turn the sensor OFF
	return val;							// Return analog moisture value
}
When you run the sketch, you should see readings similar to the ones below:
- When the soil is dry (around 850)
- When the soil is completely saturated (around 400)

This test may require some trial and error. Once you have the readings, you can use them as a threshold to trigger an action.
Arduino Code
The sketch below estimates the level of soil moisture using the following threshold values:
- < 500 is too wet
- 500-750 is the target range
- > 750 is dry enough to be watered
/* Change these values based on your calibration values */
#define soilWet 500   // Define max value we consider soil 'wet'
#define soilDry 750   // Define min value we consider soil 'dry'

// Sensor pins
#define sensorPower 7
#define sensorPin A0

void setup() {
	pinMode(sensorPower, OUTPUT);

	// Initially keep the sensor OFF
	digitalWrite(sensorPower, LOW);

	Serial.begin(9600);
}

void loop() {
	//get the reading from the function below and print it
	int moisture = readSensor();
	Serial.print("Analog Output: ");
	Serial.println(moisture);

	// Determine status of our soil
	if (moisture < soilWet) {
		Serial.println("Status: Soil is too wet");
	} else if (moisture >= soilWet && moisture < soilDry) {
		Serial.println("Status: Soil moisture is perfect");
	} else {
		Serial.println("Status: Soil is too dry - time to water!");
	}

	delay(1000);	// Take a reading every second for testing
					// Normally you should take reading perhaps once or twice a day
	Serial.println();
}

//  This function returns the analog soil moisture measurement
int readSensor() {
	digitalWrite(sensorPower, HIGH);	// Turn the sensor ON
	delay(10);							// Allow power to settle
	int val = analogRead(sensorPin);	// Read the analog value form sensor
	digitalWrite(sensorPower, LOW);		// Turn the sensor OFF
	return val;							// Return analog moisture value
}
If everything is fine, you should see something similar on the serial monitor.
