
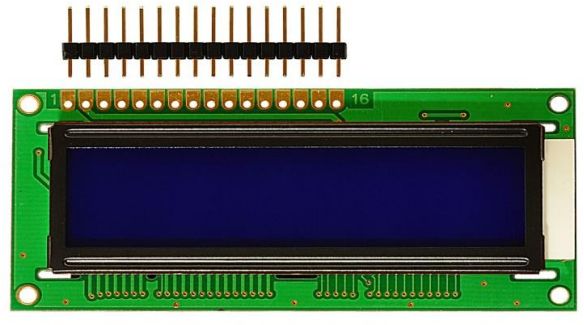


Description:
- LCD display module with blue Wide viewing angle and high contrast Built-in industry standard HD44780 equivalent LCD controller
- Commonly used in: copiers, fax machines, laser printers, industrial test equipment, networking equipment such as routers and storage devices
Specifications:
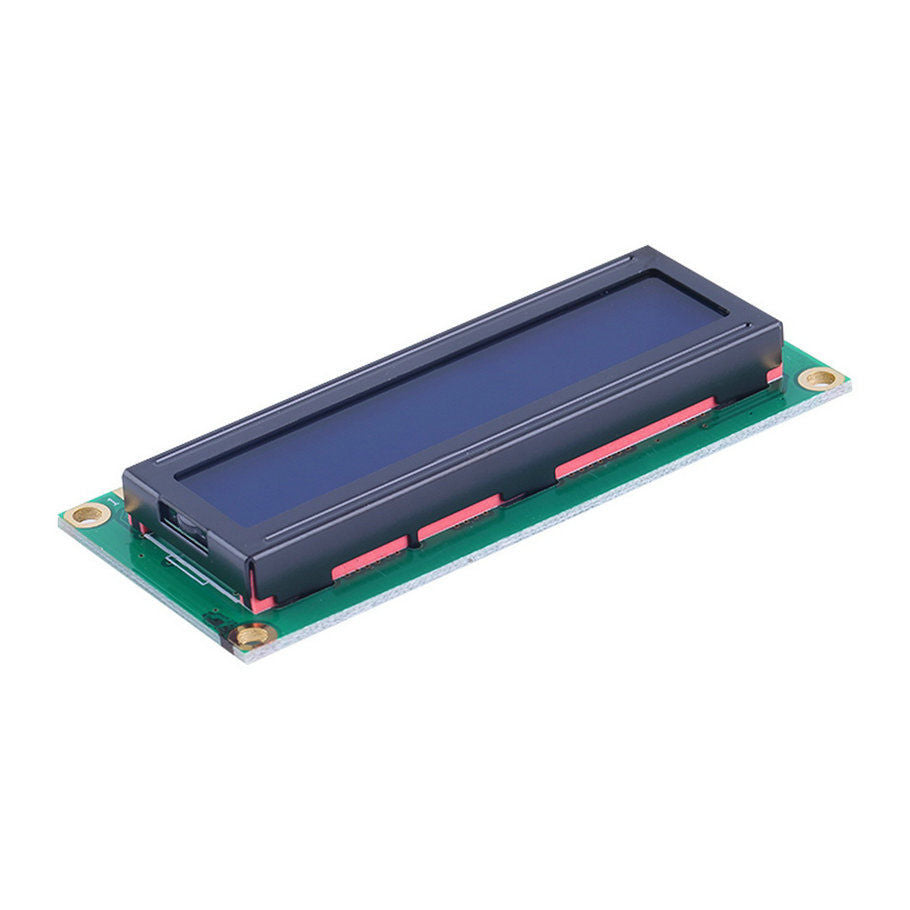
- LCM type: Characters
- Can display 2-lines X 16-characters
- Operate with 5V DC
- Module dimension: 80mm x 36mm x 12mm
- Viewing area size: 64.5mm x 16mm
Package includes:
- 1 x 1602 16x2 Character LCD Display Module HD44780 Controller blue
- 16 x headers pins
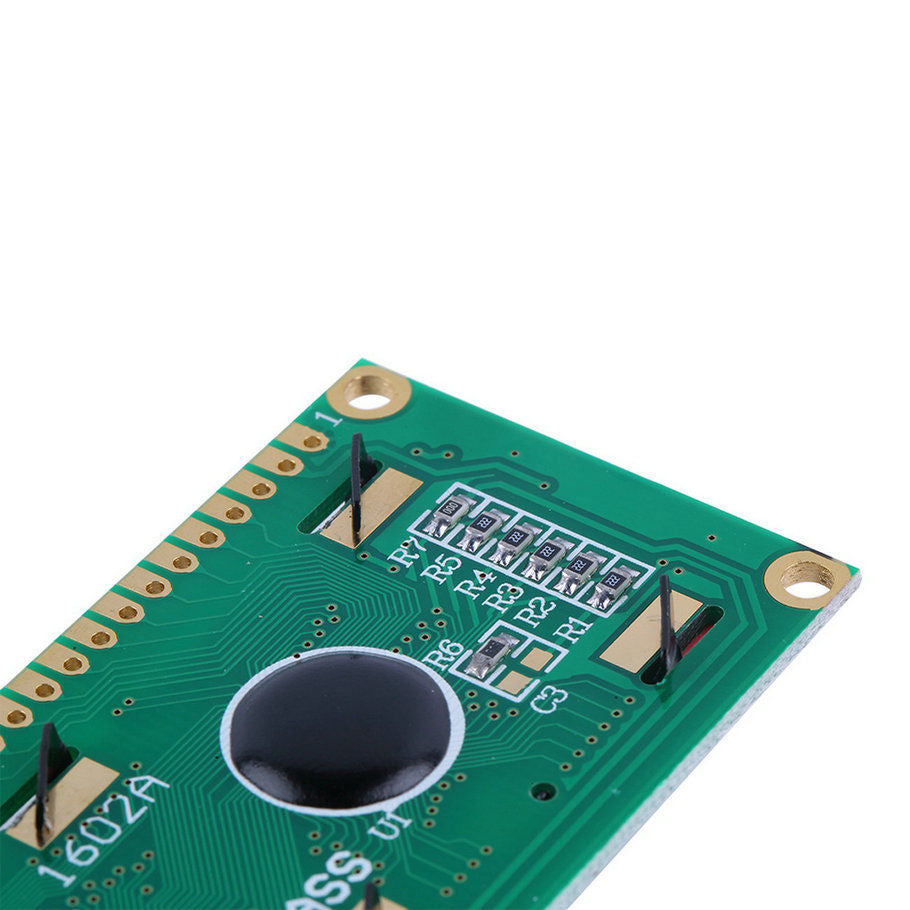
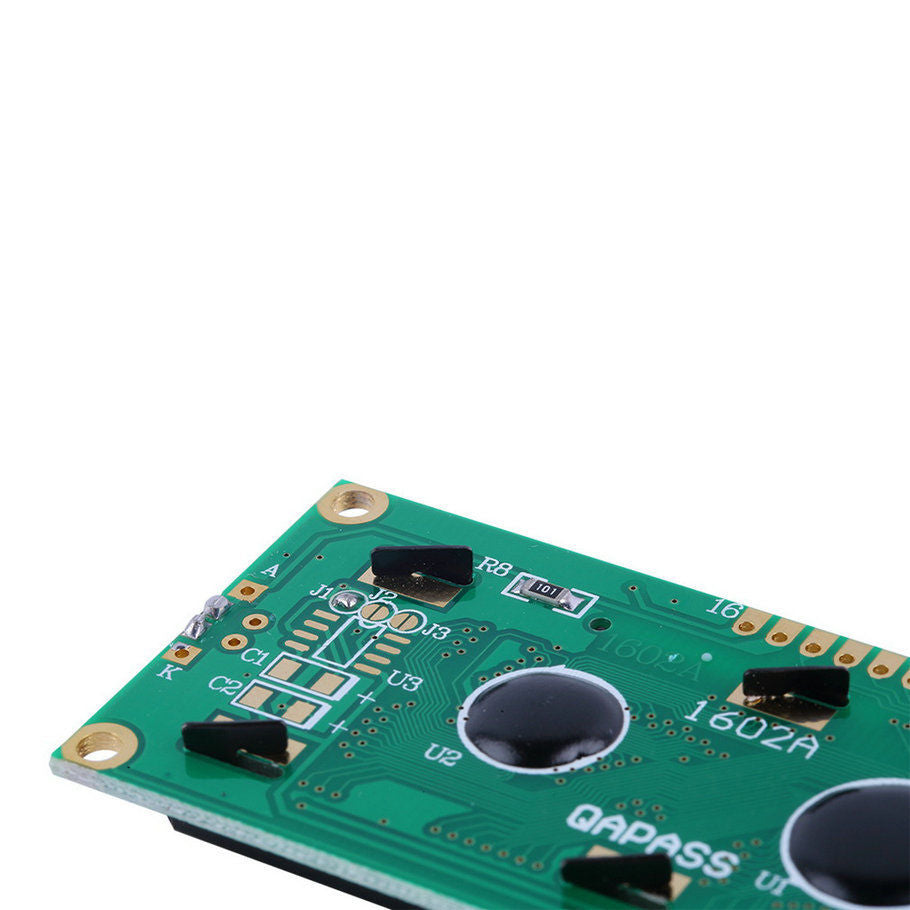
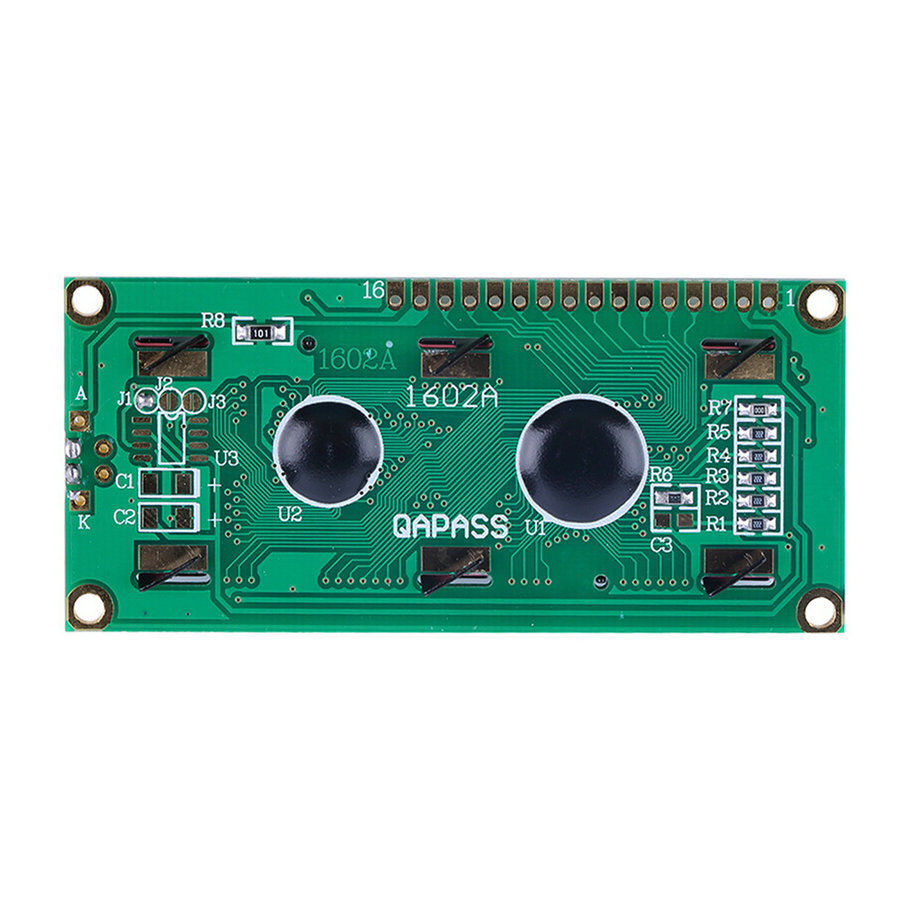
Pinout
16×2 LCD is named so because; it has 16 Columns and 2 Rows. There are a lot of combinations available like, 8×1, 8×2, 10×2, 16×1, etc. But the most used one is the 16*2 LCD, hence we are using it here.
All the above mentioned LCD display will have 16 Pins and the programming approach is also the same and hence the choice is left to you. Below is the Pinout and Pin Description of 16x2 LCD Module:

|
Sr. No |
Pin No. |
Pin Name |
Pin Type |
Pin Description |
Pin Connection |
|
1 |
Pin 1 |
Ground |
Source Pin |
This is a ground pin of LCD |
Connected to the ground of the MCU/ Power source |
|
2 |
Pin 2 |
VCC |
Source Pin |
This is the supply voltage pin of LCD |
Connected to the supply pin of Power source |
|
3 |
Pin 3 |
V0/VEE |
Control Pin |
Adjusts the contrast of the LCD. |
Connected to a variable POT that can source 0-5V |
|
4 |
Pin 4 |
Register Select |
Control Pin |
Toggles between Command/Data Register |
Connected to a MCU pin and gets either 0 or 1. 0 -> Command Mode 1-> Data Mode |
|
5 |
Pin 5 |
Read/Write |
Control Pin |
Toggles the LCD between Read/Write Operation |
Connected to a MCU pin and gets either 0 or 1. 0 -> Write Operation 1-> Read Operation |
|
6 |
Pin 6 |
Enable |
Control Pin |
Must be held high to perform Read/Write Operation |
Connected to MCU and always held high. |
|
7 |
Pin 7-14 |
Data Bits (0-7) |
Data/Command Pin |
Pins used to send Command or data to the LCD. |
In 4-Wire Mode Only 4 pins (0-3) is connected to MCU In 8-Wire Mode All 8 pins(0-7) are connected to MCU |
|
8 |
Pin 15 |
LED Positive |
LED Pin |
Normal LED like operation to illuminate the LCD |
Connected to +5V |
|
9 |
Pin 16 |
LED Negative |
LED Pin |
Normal LED like operation to illuminate the LCD connected with GND. |
Connected to ground |
Wiring:
We know that data is sent to the LCD via eight data pins. However, HD44780-based LCDs are designed so that we can communicate with them using only four data pins (in 4-bit mode) rather than eight (in 8-bit mode). This helps us save 4 I/O pins!
So, to interface the LCD in 4-bit mode, only six pins are required: RS, EN, D7, D6, D5, and D4.
Connect the LCD’s four data pins (D4-D7) to digital pins 5 to 2 on the Arduino, the EN pin to digital pin 11, and the RS pin to digital pin 12.
The wiring is shown below.

Code
The example sketch below prints “Hello World” to the LCD. First, try out the sketch, and then we’ll go over it in detail.
// include the library code:
#include <LiquidCrystal.h>

// Creates an LCD object. Parameters: (rs, enable, d4, d5, d6, d7)
LiquidCrystal lcd(12, 11, 5, 4, 3, 2);

void setup()
{
	// set up the LCD's number of columns and rows:
	lcd.begin(16, 2);

	// Clears the LCD screen
	lcd.clear();
}

void loop()
{
	// Print a message to the LCD.
	lcd.print(" Hello world!");

	// set the cursor to column 0, line 1
	// (note: line 1 is the second row, since counting begins with 0):
	lcd.setCursor(0, 1);
	// Print a message to the LCD.
	lcd.print(" LCD Tutorial");
}
If everything is correct, a “Hello world!” should appear on the display.
Code Explanation:
The sketch begins by including the LiquidCrystal library. This library comes with the Arduino IDE and allows you to control Hitachi HD44780 driver-based LCD displays.
// include the library code:
#include <LiquidCrystal.h>
Next, an object of the LiquidCrystal class is created by passing as parameters the pin numbers to which the LCD’s RS, EN, and four data pins are connected.
// Creates an LCD object. Parameters: (rs, enable, d4, d5, d6, d7)
LiquidCrystal lcd(12, 11, 5, 4, 3, 2);
In the setup, two functions are called. The first function is begin(). It is used to initialize the interface to the LCD screen and to specify the dimensions (columns and rows) of the display. If you’re using a 16×2 character LCD, you should pass 16 and 2; if you’re using a 20×4 LCD, you should pass 20 and 4.
The second function is clear(). This function clears the LCD screen and positions the cursor in the upper-left corner.
lcd.begin(16, 2);
lcd.clear();
In the loop, the print() function is used to print “Hello world!” to the LCD. Please remember to use quotation marks " " around the text. There is no need for quotation marks when printing numbers or variables.
// Print a message to the LCD.
lcd.print(" Hello world!");
The function setCursor() is then called to move the cursor to the second row. The cursor position specifies where you want the new text to appear on the LCD. It is assumed that the upper left corner is col=0 and row=0.
lcd.setCursor(0, 1);
lcd.print(" LCD Tutorial");