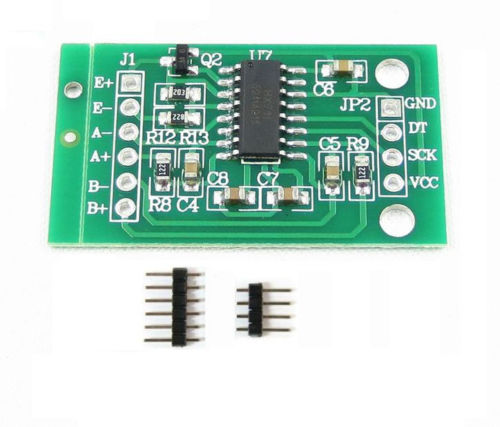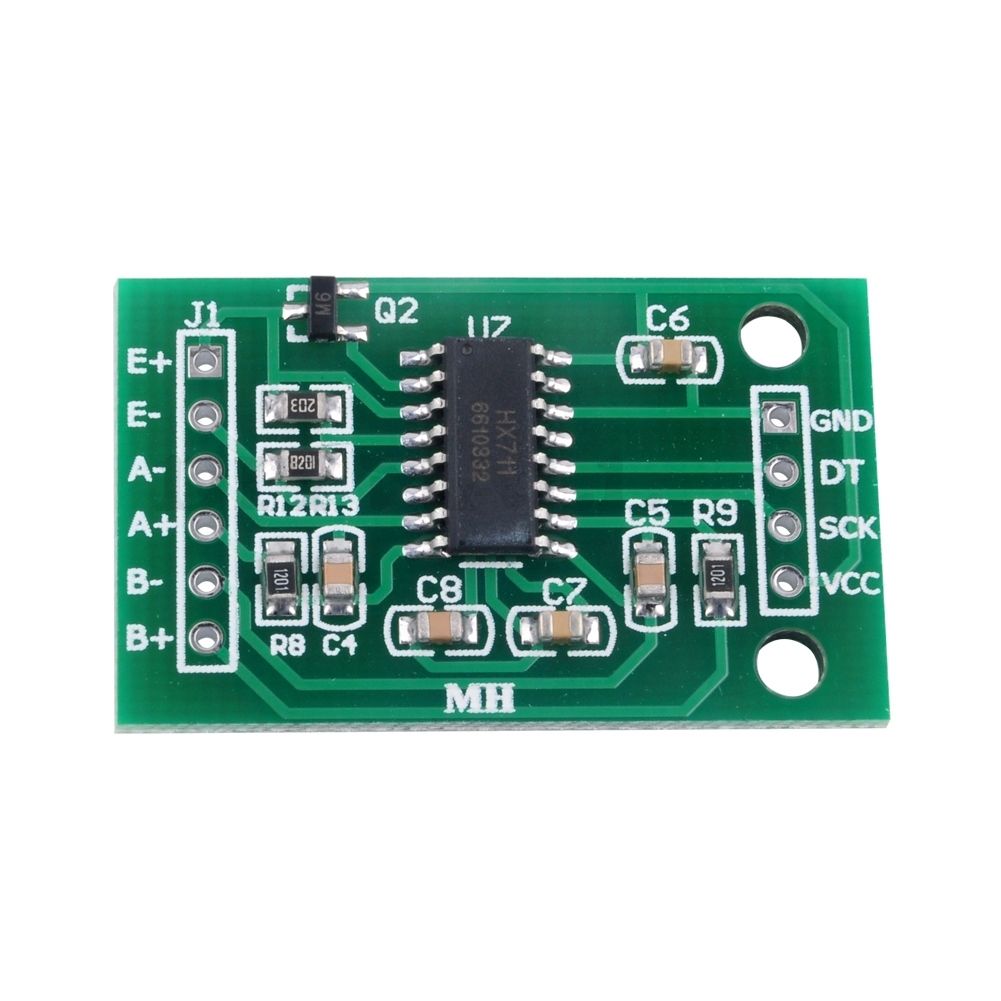
DESCRIPTION
HX711 is a precision 24-bit analog-to-digital converter (ADC) designed for weigh scales and industrial control applications to interface directly with a bridge sensor. The input multiplexer selects either Channel A or B differential input to the low-noise programmable gain amplifier (PGA). Channel A can be programmed with a gain of 128 or 64, corresponding to a full-scale differential input voltage of ±20mV or ±40mV, respectively, when a 5V supply is connected to the AVDD analog power supply pin. Channel B has a fixed gain of 32. An on-chip power supply regulator eliminates the need for an external supply regulator to provide analog power for the ADC and the sensor. Clock input is flexible. It can be from an external clock source, a crystal, or an on-chip oscillator that does not require any external components. On-chip power-on-reset circuitry simplifies digital interface initialization. There is no programming needed for the internal registers. All controls on the HX711 are through the pins.
FEATURES
- Two selectable differential input channels
- On-chip active low-noise PGA with selectable gain of 32, 64 and 128
- On-chip power supply regulator for load-cell and ADC analog power supply
- On-chip oscillator requiring no external component with optional external crystal
- On-chip power-on-reset
- Simple digital control and serial interface: pin-driven controls, no programming needed
- Selectable 10SPS or 80SPS output data rate
- Simultaneous 50 and 60Hz supply rejection
- Current consumption, including on-chip analog power supply regulators: normal operation < 1.5mA, power down < 1uA
- Operation supply voltage range: 2.6 ~ 5.5V
- Operation temperature range: -40 ~ +85℃
- 16-pin SOP-16 package
Package Includes:
- 1 x HX711 is a Precision 24-Bit Analog-To-Digital Converter (ADC) Module
Pinout of the Module:
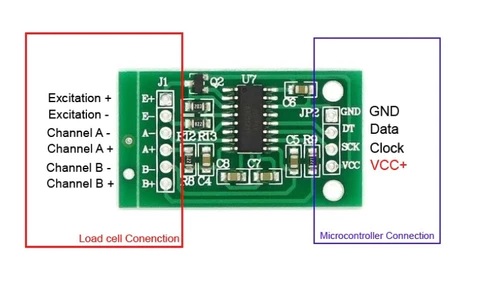
- VCC: Power supply pin, typically connected to a 5V supply.
- GND: Ground pin, used to connect the HX711 to the ground of the system.
- SCK: Serial clock input pin, used to clock in data from the load cell.
- DT: Data output pin, used to output the digital data from the HX711.
- E+: Positive excitation input pin, used to provide power to the load cell.
- E-: Negative excitation input pin used to return current from the load cell.
- E+ (A channel): Positive excitation input pin for the A channel, used to provide power to the load cell.
- E- (A channel): Negative excitation input pin for the A channel, used to return current from the load cell.
- E+ (B channel): Positive excitation input pin for the B channel, used to provide power to the load cell.
- E- (B channel): Negative excitation input pin for the B channel, used to return current from the load cell.
Wiring Load Cell and HX711 Amplifier to the Arduino:
The HX711 amplifier communicates via two-wire interface. You can connect it to any digital pins of your Arduino board. We’re connecting the data pin (DT) to Pin 2 and the clock pin (CLK) to Pin 3.
Follow the next table or schematic diagram to wire the load cell to the Arduino board.
| Load Cell | HX711 | HX711 | Arduino |
| Red (E+) | E+ | GND | GND |
| Black (E-) | E- | DT | Pin 2 |
| White (A-) | A- | SCK | Pin 3 |
| Green (A+) | A+ | VCC | 5V |

Installing the HX711 Library
There are several different libraries to get measurements from a load cell using the HX711 amplifier. We’ll use the HX711 library by bodge. It is compatible with the ESP32, ESP8266, and Arduino.
Calibrating the Scale (Arduino with Load Cell)
At this time, we assume you have wired the load cell to the HX711 amplifier and the amplifier to the Arduino board. You should also have your scale set up (two plates wired on opposite ends on the load cell), and have installed the HX711 library.
Before getting the weight of objects, you need to calibrate your load cell first by getting the calibration factor. Your calibration factor will be different than mine, so you shouldn’t skip this section.
1) Prepare an object with a known weight. I used my kitchen scale and weighed a glass with water (107g).
2) Upload the following code to your Arduino board. We wrote the following code taking into account the instructions to calibrate the load cell provided by the library documentation.
// Calibrating the load cell
#include "HX711.h"

// HX711 circuit wiring
const int LOADCELL_DOUT_PIN = 2;
const int LOADCELL_SCK_PIN = 3;

HX711 scale;

void setup() {
  Serial.begin(57600);
  scale.begin(LOADCELL_DOUT_PIN, LOADCELL_SCK_PIN);
}

void loop() {

  if (scale.is_ready()) {
    scale.set_scale();
    Serial.println("Tare... remove any weights from the scale.");
    delay(5000);
    scale.tare();
    Serial.println("Tare done...");
    Serial.print("Place a known weight on the scale...");
    delay(5000);
    long reading = scale.get_units(10);
    Serial.print("Result: ");
    Serial.println(reading);
  }
  else {
    Serial.println("HX711 not found.");
  }
  delay(1000);
}

//calibration factor will be the (reading)/(known weight)
3) After uploading, open the Serial Monitor at a baud rate of 57600 and then press the Arduino on-board RESET button.
4) Follow the instructions on the Serial Monitor: remove any weights from the scale (it will tare automatically). Then, place an object with a known weight on the scale and wait until you get a value.
5) Calculate your calibration factor using the formula:
calibration factor = (reading)/(known weight)
In our case, the reading is -49171. The known weight is 107g, so our calibration factor will be: -49171/107 = -459.542.
calibration factor = -49171/107 = -459.542Save your calibration factor because you’ll need it later. Yours will be different than ours.
Because the output of the sensor is proportional to the force applied to the load cell, you can calibrate your scale using whatever unit makes sense for you. I used grams, but you can use pounds, kilograms, or even pieces of cat food.
