


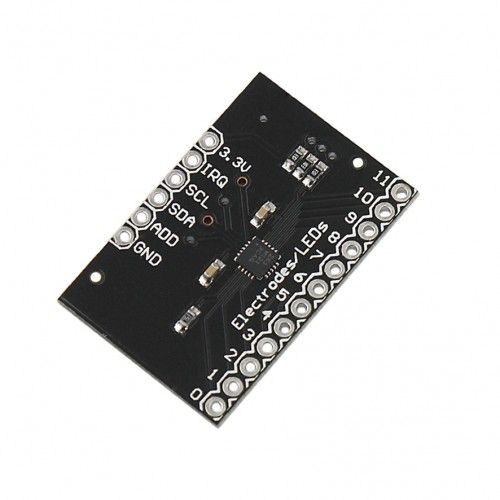

Description
This MPR121 is a capacitive touch sensor controller driven by an I2C interface. The chip can control up to twelve individual electrodes, as well as a simulated thirteenth electrode The MPR121 also features eight LED driving pins, when these pins are not configured as electrodes, they may be used to drive LEDs. There are four jumpers on the bottom of the board, all of which are set (closed) by default. An address jumper ties the ADD pin to the ground, meaning the default I2C address of the chip will be 0x5A. If you need to change the address of the chip (by shorting ADD to a different pin), make sure you open the jumper first. Jumpers also connect SDA, SCL, and the interrupt pin to 10k pull-up resistors. If you do not require the pull-up resistors you can open the jumpers by cutting the trace connecting them.
SPECIFICATIONS
| Operating Voltage | 2.5V-3.6V DC |
| Interface | I2C |
| Operating Current | 29μA supply current at 16ms sample period |
| Shutdown Current | 3uA |
| Dimension (L x W) | 30 x 20 mm |
| Country of Origin | China |
MPR121 Applications
- Computer peripherals
- MP3 players
- Remote controls
- Lighting controls
How To Use Capacitive Touch Sensor Module
A capacitor is a type of electrical component that temporarily stores charge. Its ability to grow voltage linearly when a constant current is provided to it, or exponentially when coupled to a constant voltage through a resistor, is particularly helpful. This is a highly typical characteristic in timing applications. The time constant of the circuit varies if one end of this capacitor is connected to this circuit and the other end is left floating or created by a floating body. A capacitive touch sensor works on this principle: one end is connected to an IC that generates a signal using the time constant, and the other end is created by the finger touching the "contact."
The MPR121 is an integrated circuit that contains all of the circuits required to construct twelve capacitive touch sensors. Electrodes, which are just metallic pads, can be connected to the twelve pins. Eight of these pins can alternatively be used as GPIOs or LED driver outputs. To communicate with the IC, the I2C protocol is employed. The ADD pin can be connected to GND, VCC, SCL, or SDA to select one of four distinct addresses.
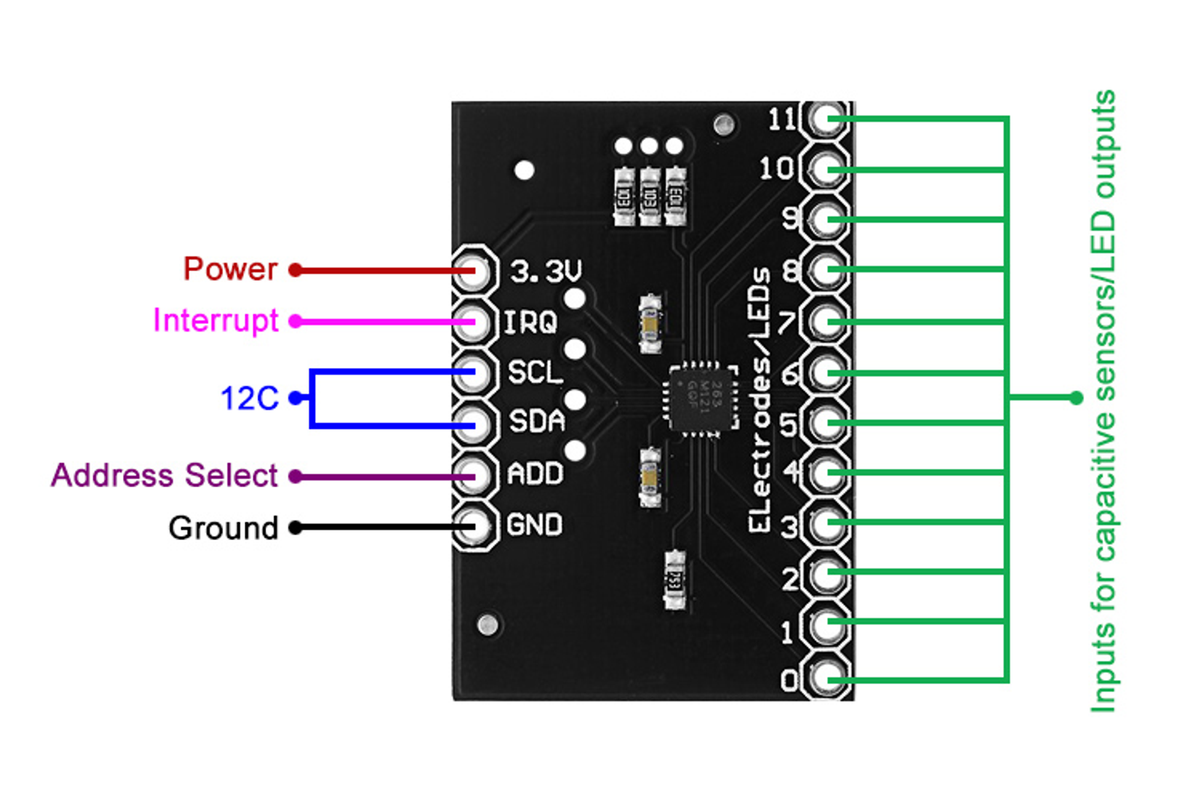
Pin Connections:
| Pin | Description |
|---|---|
| 3.3V | Connected to a 3.3V power supply. |
| IRQ | Interrupt output from the MPR121 chip, can be connected to a microcontroller interrupt pin. |
| SCL | I2C clock line, should be connected to the microcontroller's SCL pin. |
| SDA | I2C data line, should be connected to the microcontroller's SDA pin. |
| ADD | Used to set the I2C address of the MPR121 chip. Connected to GND by default, setting the address to 0x5A. If needed, connect to a different pin on the module. |
| GND | Connected to ground. |
| 0-11 Electrodes/LED | These pins can be used as either electrode inputs or LED outputs. Electrode inputs connect to conductive material for touch sensing, and LED outputs connect to LED anodes with cathodes grounded through a current-limiting resistor. |
Wiring

Library
Adafruit, Sparkfun, Seeedstudio and Bare Conductive all provide Arduino libraries, however by far the best which includes tools for visualising the data is the Bare Conductive Touch Board library and grapher. All libraries should all work interchangeably as long as you get the correct address and IRQ pin.
The key thing to remember when using examples from the Bare Conductive library is that they use the address 0x5C rather than the default 0x5A address used on both the Sparkfun and Adafruit boards, also ensure that you use the correct IRQ pin based on the example you are using.
We have a tutorial on how to install a library here.
Getting started
After installing the library and wiring the board, go ahead and use the examples in the File > Examples menu in Arduino, the Simple Touch example is particularly good as it's simple to check it's working.
Example
This is a basic example of using the MPR121 with the Bare Conductive MPR121 library to get the proximity value and touch status, this can easily be extrapolated into a project.
#include <MPR121.h>
#include <Wire.h>

#define numElectrodes 12

void setup() {
  Serial.begin( 9600 );
  Wire.begin();

  // Setup MPR121
  MPR121.begin( 0x5A );
  MPR121.setInterruptPin( 4 );
  MPR121.setTouchThreshold( 40 );
  MPR121.setReleaseThreshold( 20 );
}

void loop() {
  // Check for new data
  MPR121.updateTouchData();
  MPR121.updateFilteredData();

  // Get an analog proximity value
  Serial.print( MPR121.getFilteredData( 1 ) );

  // Get a touched/not touched value
  if ( MPR121.getTouchData( 1 ) ) {
    Serial.println( " - Touching" );
  } else {
    Serial.println( " - Not Touching" );
  }
}