


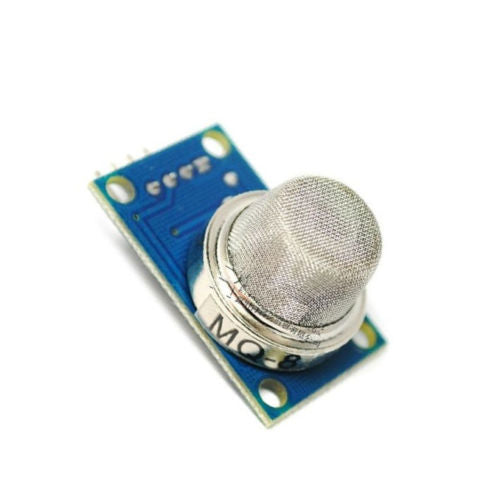
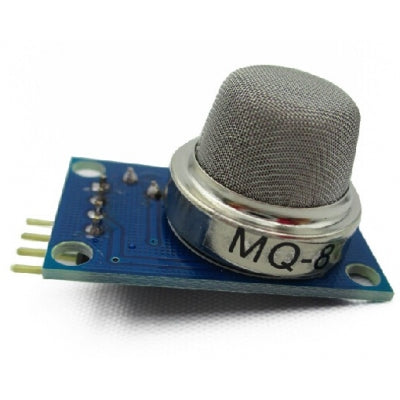
What is an MQ8 Hydrogen H2 Gas Sensor?
MQ8 sensor is a sensor having high sensitivity to Hydrogen H2 gas.
The SnO2 semiconductor material is used in the MQ8 sensor for detecting the gases. It has lower conductivity in clean air. When hydrogen gas is present near the sensor, the sensor’s conductivity rises with the rise in gas concentration. Users can convert the change of conductivity to gas concentration through a simple electronic circuit. MQ-8 gas sensor has a high sensitivity to hydrogen gas and it also has anti-interference to other gases. This sensor can detect hydrogen, especially city gas.
An MQ8 sensor has a wide array of applications such as:
- Domestic and industrial Hydrogen gas leakage detector
- Industrial flammable gas detector
- Portable gas detector
The applicability of an MQ8 sensor is enhanced by the following features:
- High sensitivity to Hydrogen (H2)
- Small sensitivity to alcohol, LPG, cooking fumes
- Highly Stable
- Long lifespan
- Low cost
- Simple drive circuit
MQ8 Hydrogen H2 Gas Sensor specifications
- Operating Voltage: 5V
- Operating Current: <150mA
- Operating Temperature: -20 to 70 degrees Celsius
- Concentration: 100-1000ppm
MQ8 Hydrogen H2 Gas Sensor pin diagram

Circuit diagram of MQ8 Hydrogen H2 Gas Sensor with Arduino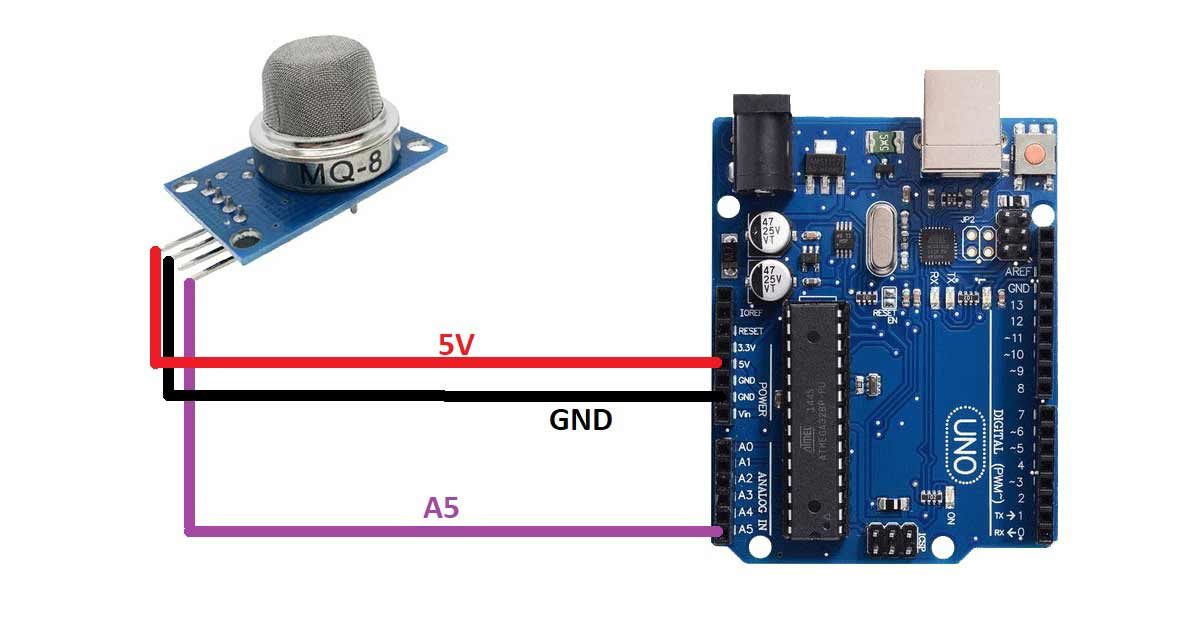
Pin connection of MQ8 Hydrogen H2 Gas Sensor with Arduino
- Connect the VCC pin of the sensor to the 5V pin of the Arduino UNO board
- Connect the GND pin of the sensor to the GND pin of the Arduino UNO board
- Connect the AO pin of the sensor to the A5 pin of the Arduino UNO board
Arduino code for interfacing MQ8 Hydrogen H2 Gas Sensor with Arduino
int sensorPin=A5;
int sensorData;
void setup()
 {
 Serial.begin(9600);
 pinMode(sensorPin,INPUT);
 }
 void loop()
 {
sensorData = analogRead(sensorPin);
Serial.print("Sensor Data:");

delay(100);
 }
Arduino code working
int sensorPin=A5;
int sensorData;
 }
Create a variable named sensorPin to the pin number of the Arduino UNO board where you have connected the AO pin of the sensor. In our case, it is A5 pin of the Arduino UNO board.
Create another variable named sensorData. We will use this variable to store the data that will be received by the Arduino from the sensor.
  void setup()
{
  Serial.begin(9600);
  pinMode(sensorPin,INPUT);
 }
Inside the void setup block, set the baud rate for the serial communication and initiate the serial communication using Serial.begin() command.
Then use the pinMode() function to set the sensorPin as INPUT. The Arduino will use this pin to get the analog data from the sensor.
  void loop()
{
  sensorData = analogRead(sensorPin);
  Serial.print("Sensor Data:");

  delay(100);
}
Inside the void loop() function, use sensorData variable to store the data that is received by the Arduino from the sensor.
Then, print the data on the serial monitor using the print and println command.